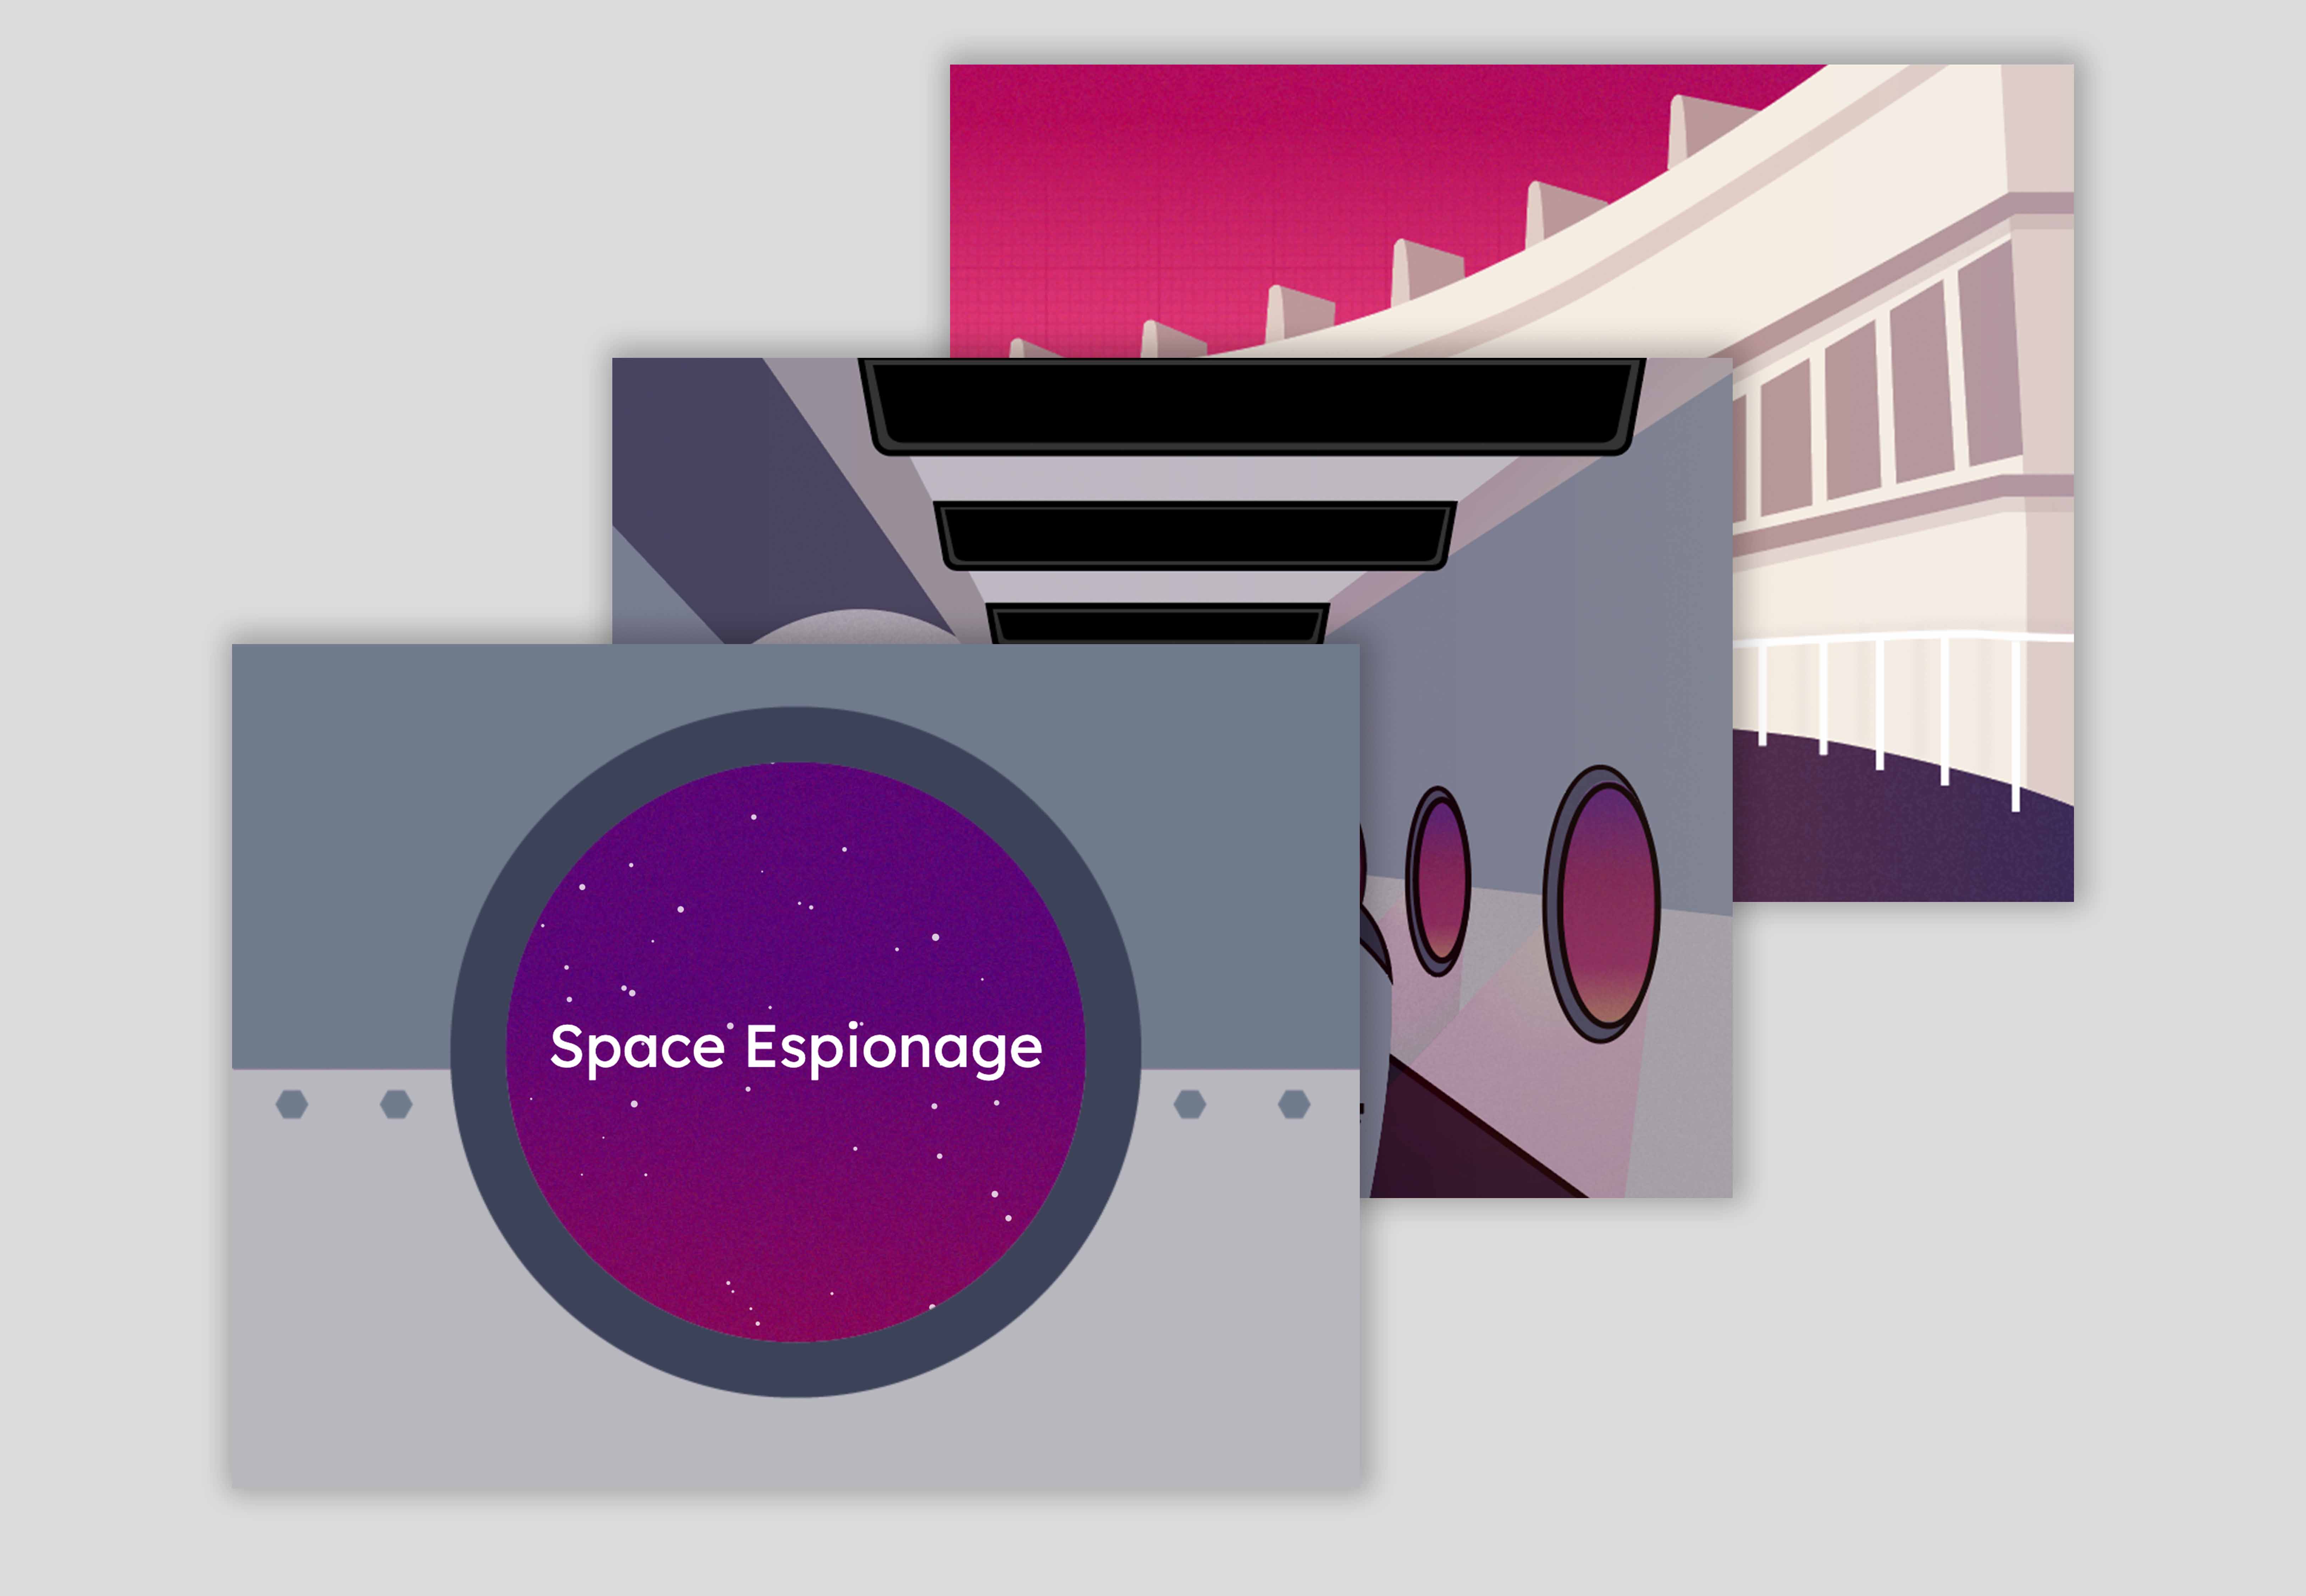
Project: Space Espionage
Space Espionage is an interactive spy-themed narrative game navigated through voice and gesture.
Timeframe:
2 weeks
Tools used:
p5.js Web Editor, Adobe Illustrator
Process Outline:
Brainstorm -> Storyboard -> Feasibility Testing -> Visual Design -> Code Logic -> Object Creation -> User Testing -> Final Output
Demo
The game.
The code.
A run through (4min 25sec):
Concept
The possibilities were endless, but I was certain that I wanted to do something that involved gesture or an interactive element.
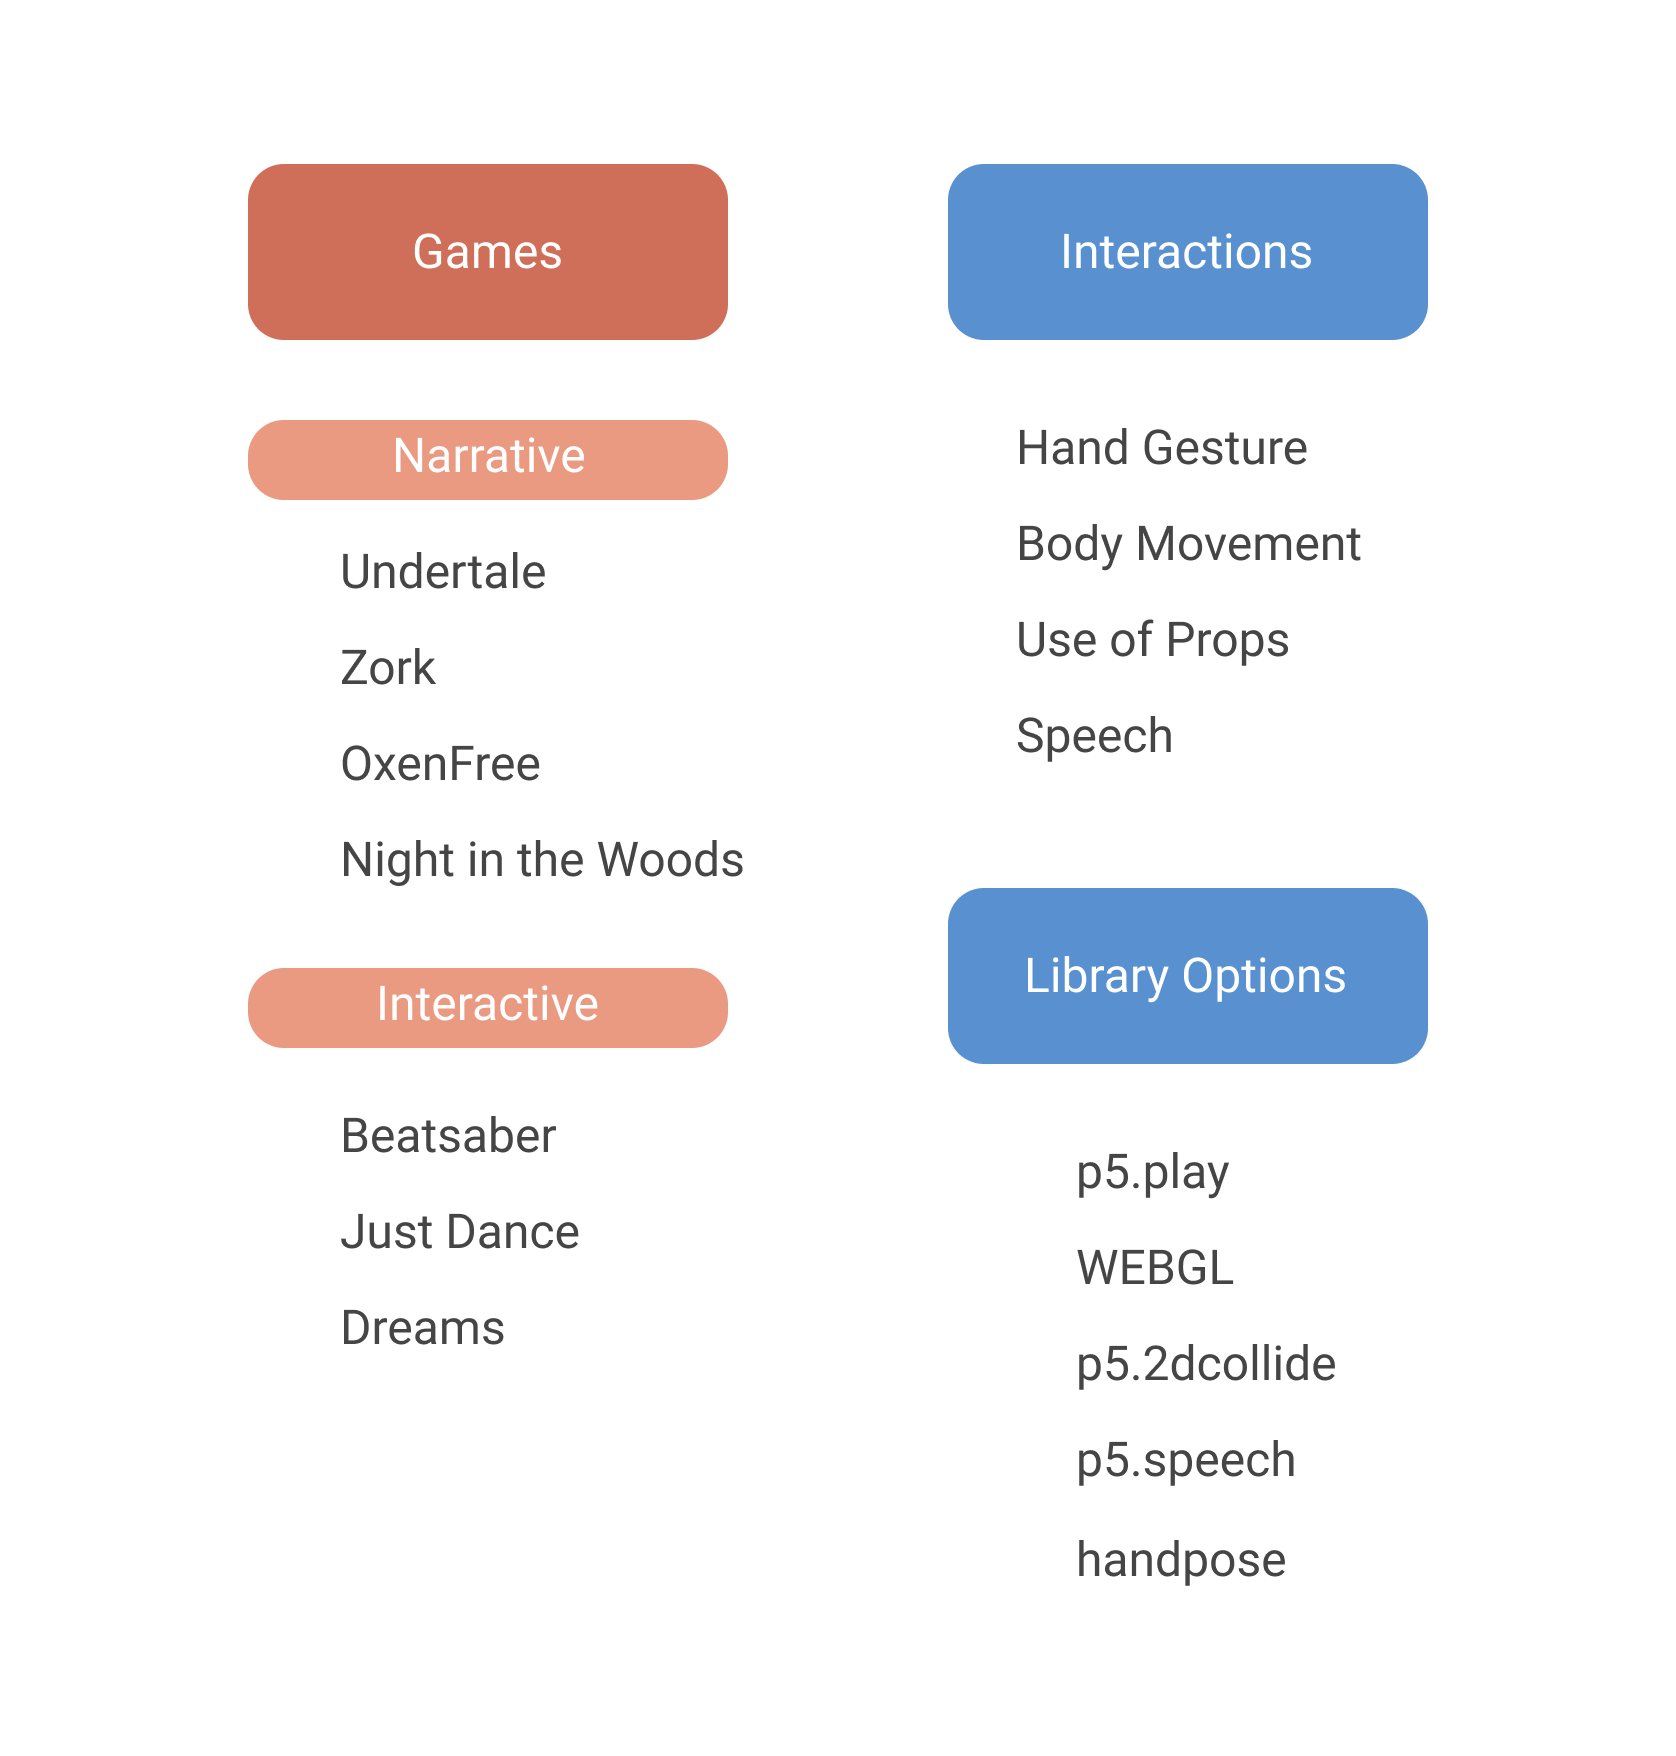
I began by identifying a list of games to serve as inspiration. Then I identified potential interactions and libraries that I could use together.
I noticed that most of the narrative games were mystery-related and that most of the interactive games involved hand movements. This led me to eventually narrow it down to creating a mystery game that utilizes hand gestures and speech.
To achieve this, I decided to test out implemention for the handpose, p5.2dcollide, and p5.speech libraries.
Planning
The first stage of planning involved testing out the libraries I wanted to use by implementing them in small programs. This included testing how multiple libraries could work together.
Handpose x p5.2d collide
I began using handpose with p5.2d collide to test a "grabbing" motion. The program tests for full collision between the circle and the shape formed within the highlighted keypoints (visualize a trapezoid).
p5.speech x custom class
I then tested out p5.speech alongside a custom function that allowed the code to display letters as if they were being typed. The gif has no audio but I was saying "Dana," "light bulb," "yes," and "no" to test out the speech recognition and my function's logical flow. (Say no and it asks again, say yes and it greets you 😊)

p5.speech x p5.play
Here I attempted to play around with how I might utilize speech as a navigation tool alongside p5.play which provides a function that allows for mouse navigation as shown in the first gif.
This first gif shows an example of mouse navigation.
This next gif shows an example of voice navigation. After this test I learned that utilizing voice caused for a slight delay in reaction time
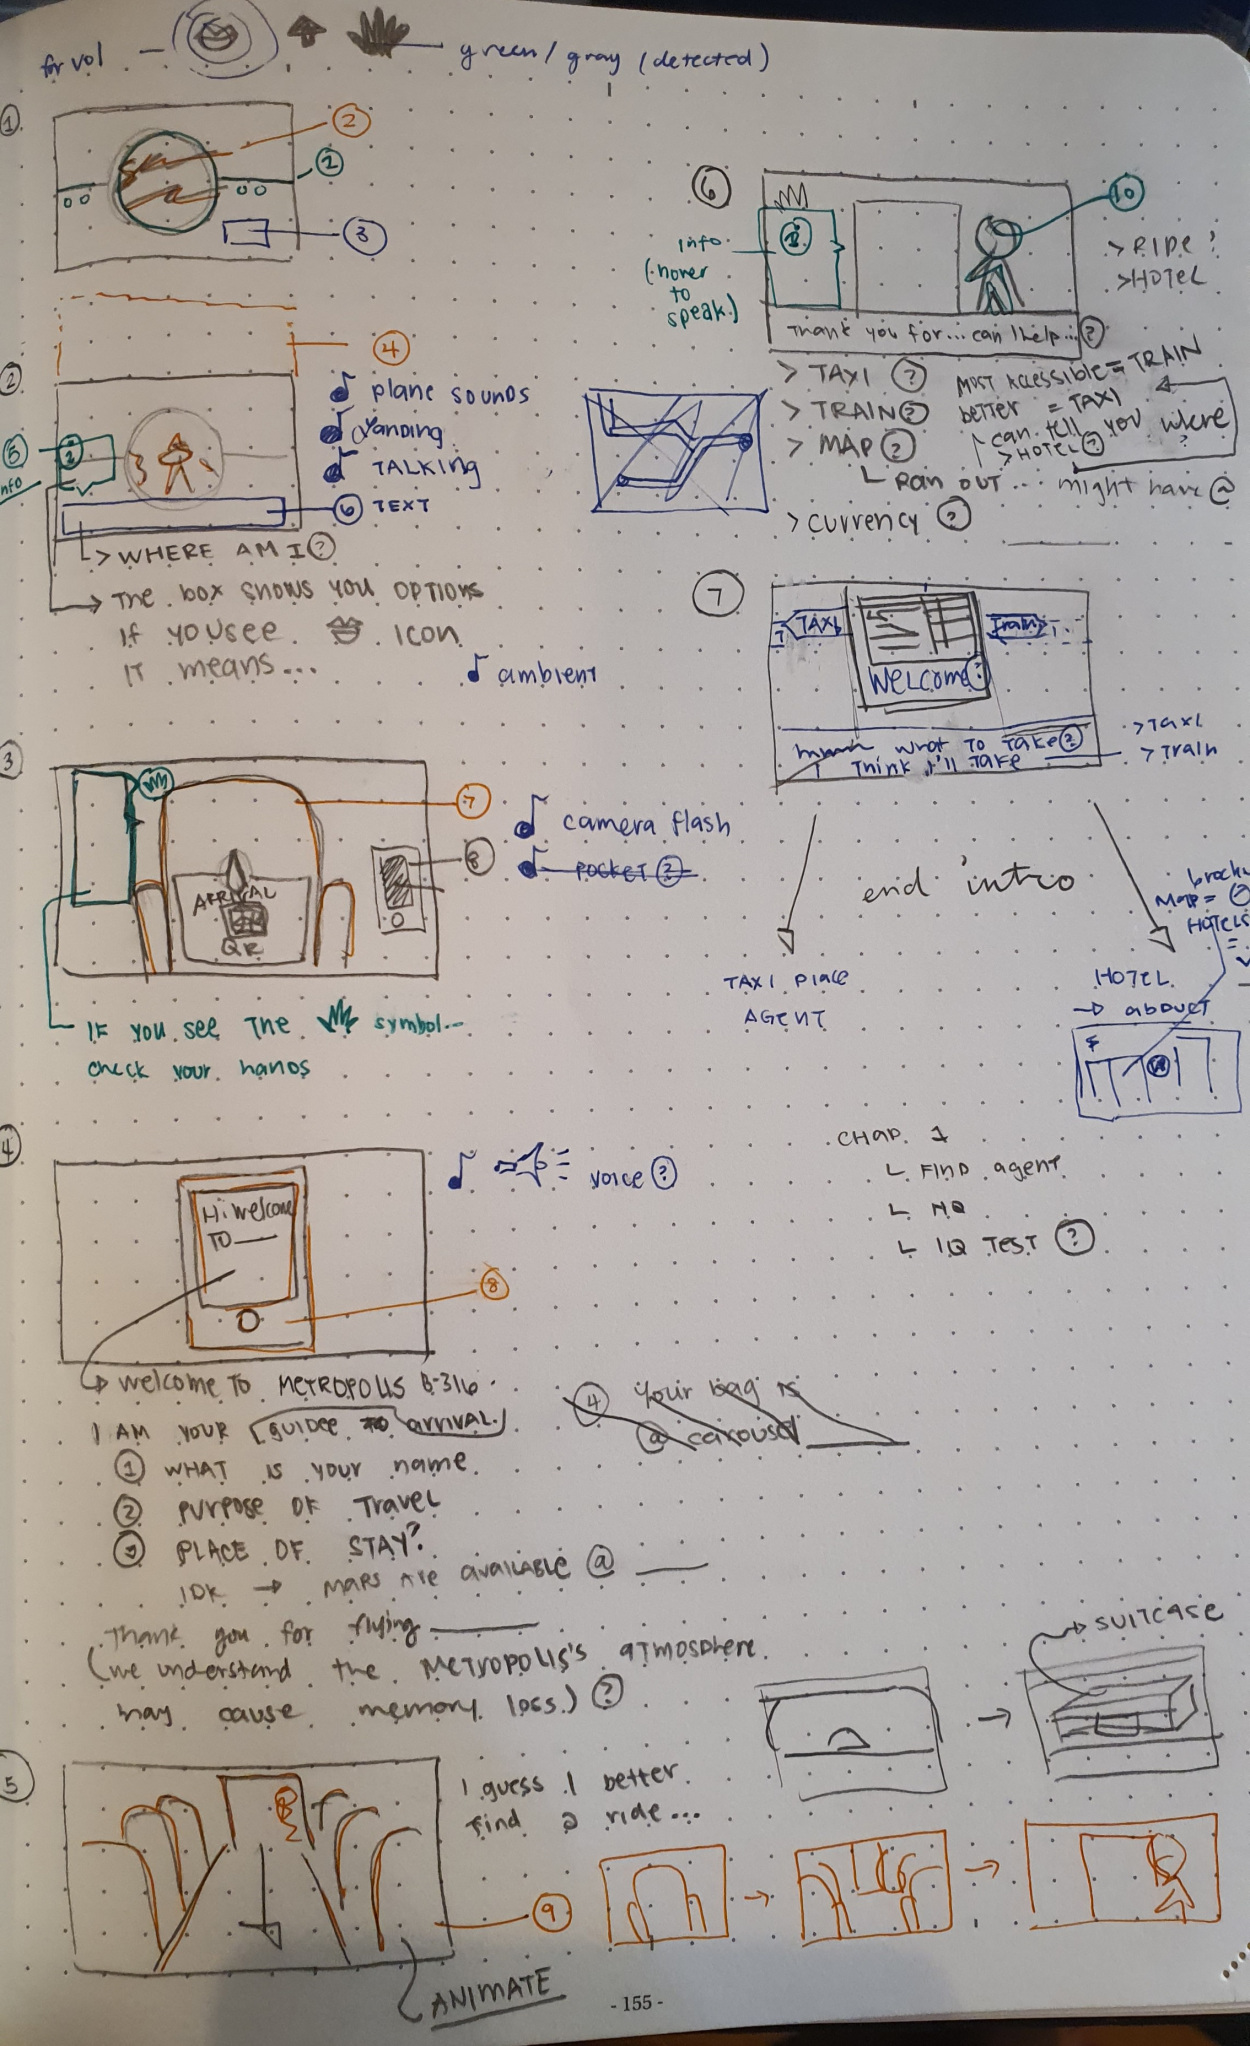
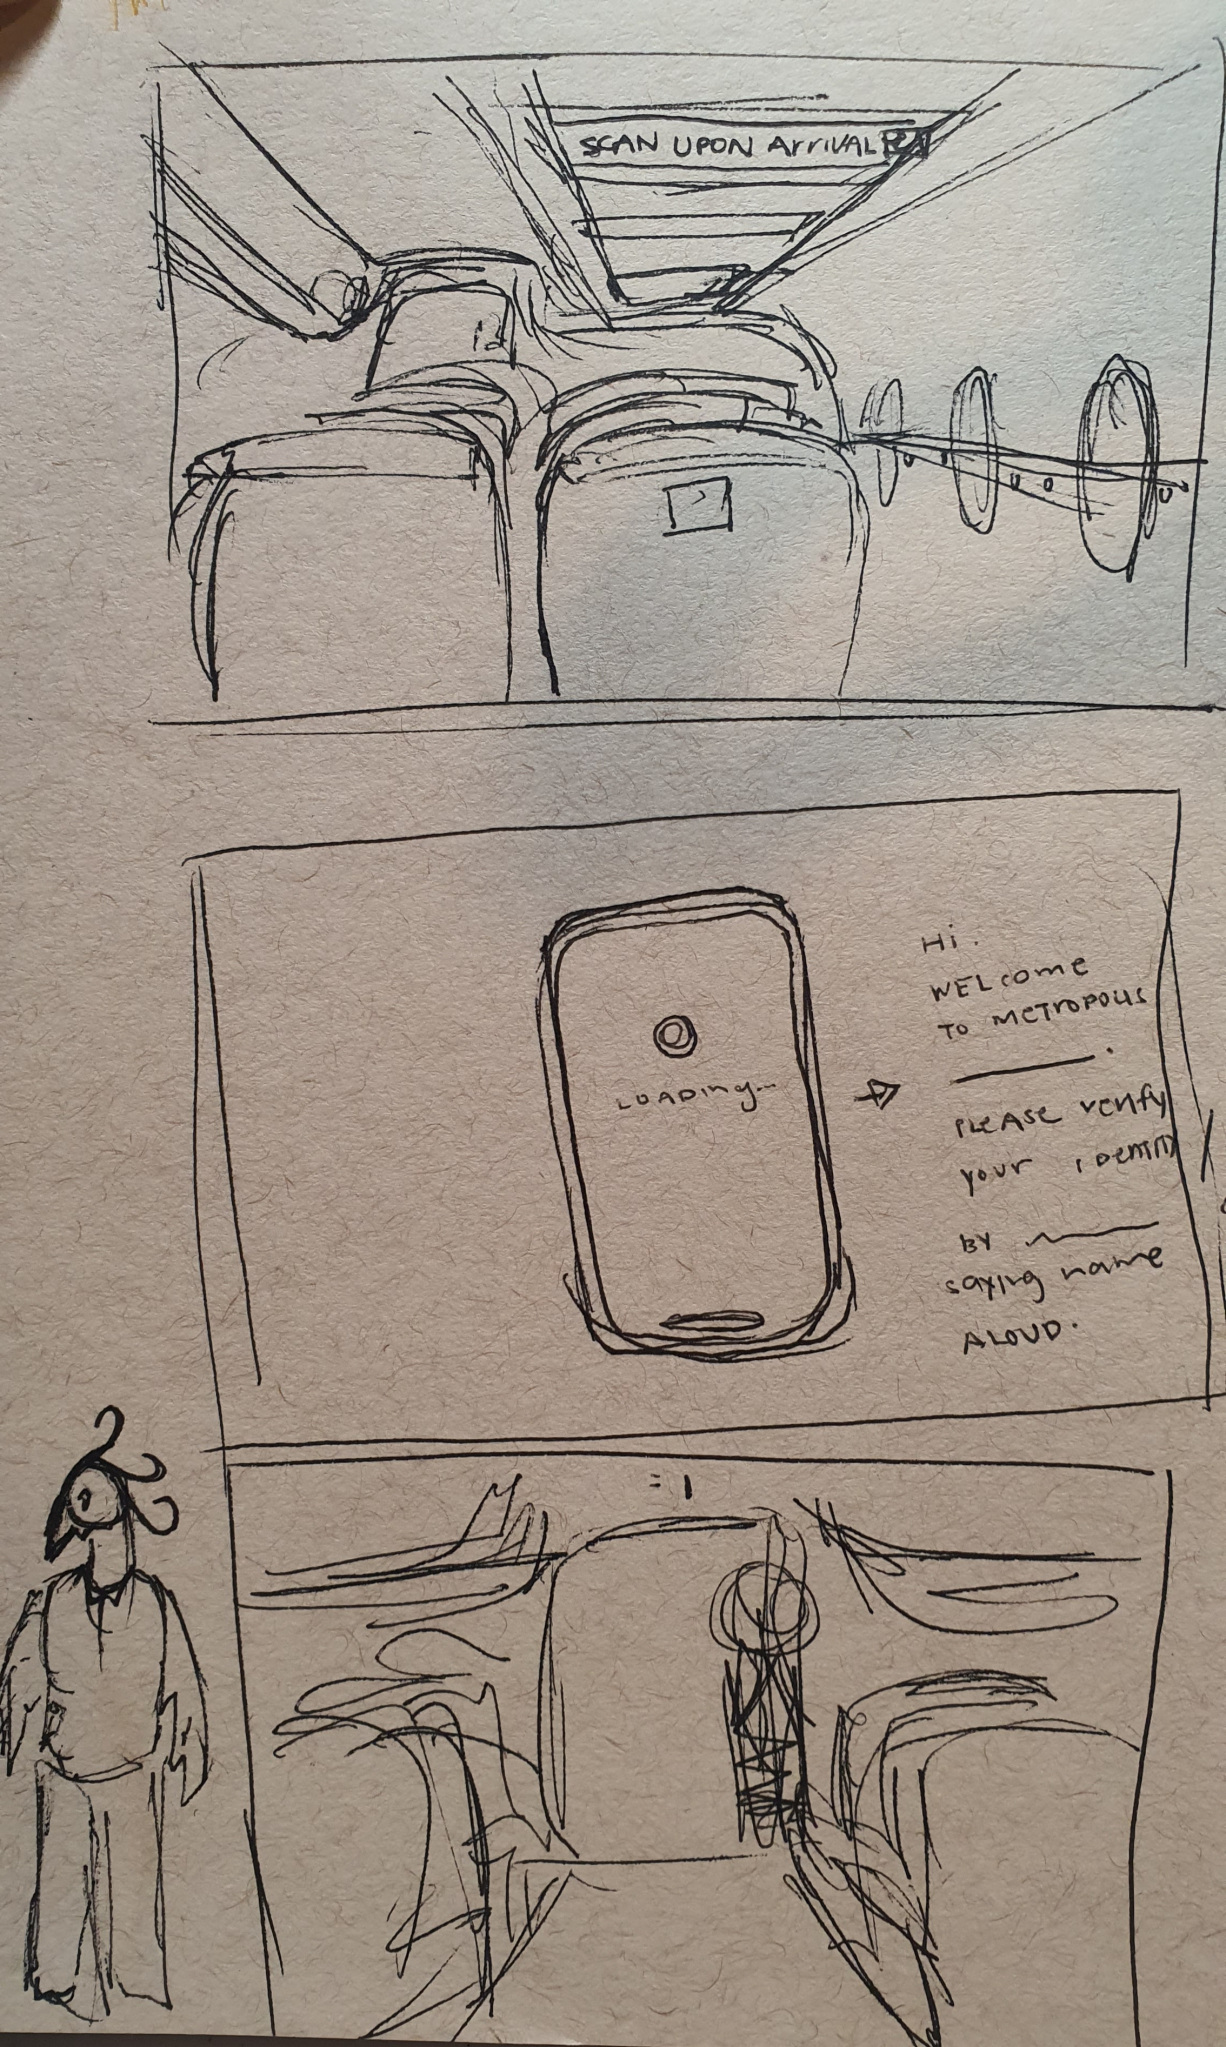
Storyboarding
I began by taking a long walk and brainstorming story options. Once I found a concrete idea, I began to storyboard and sketch the scenes alongside details such as interactions and narrative elements.
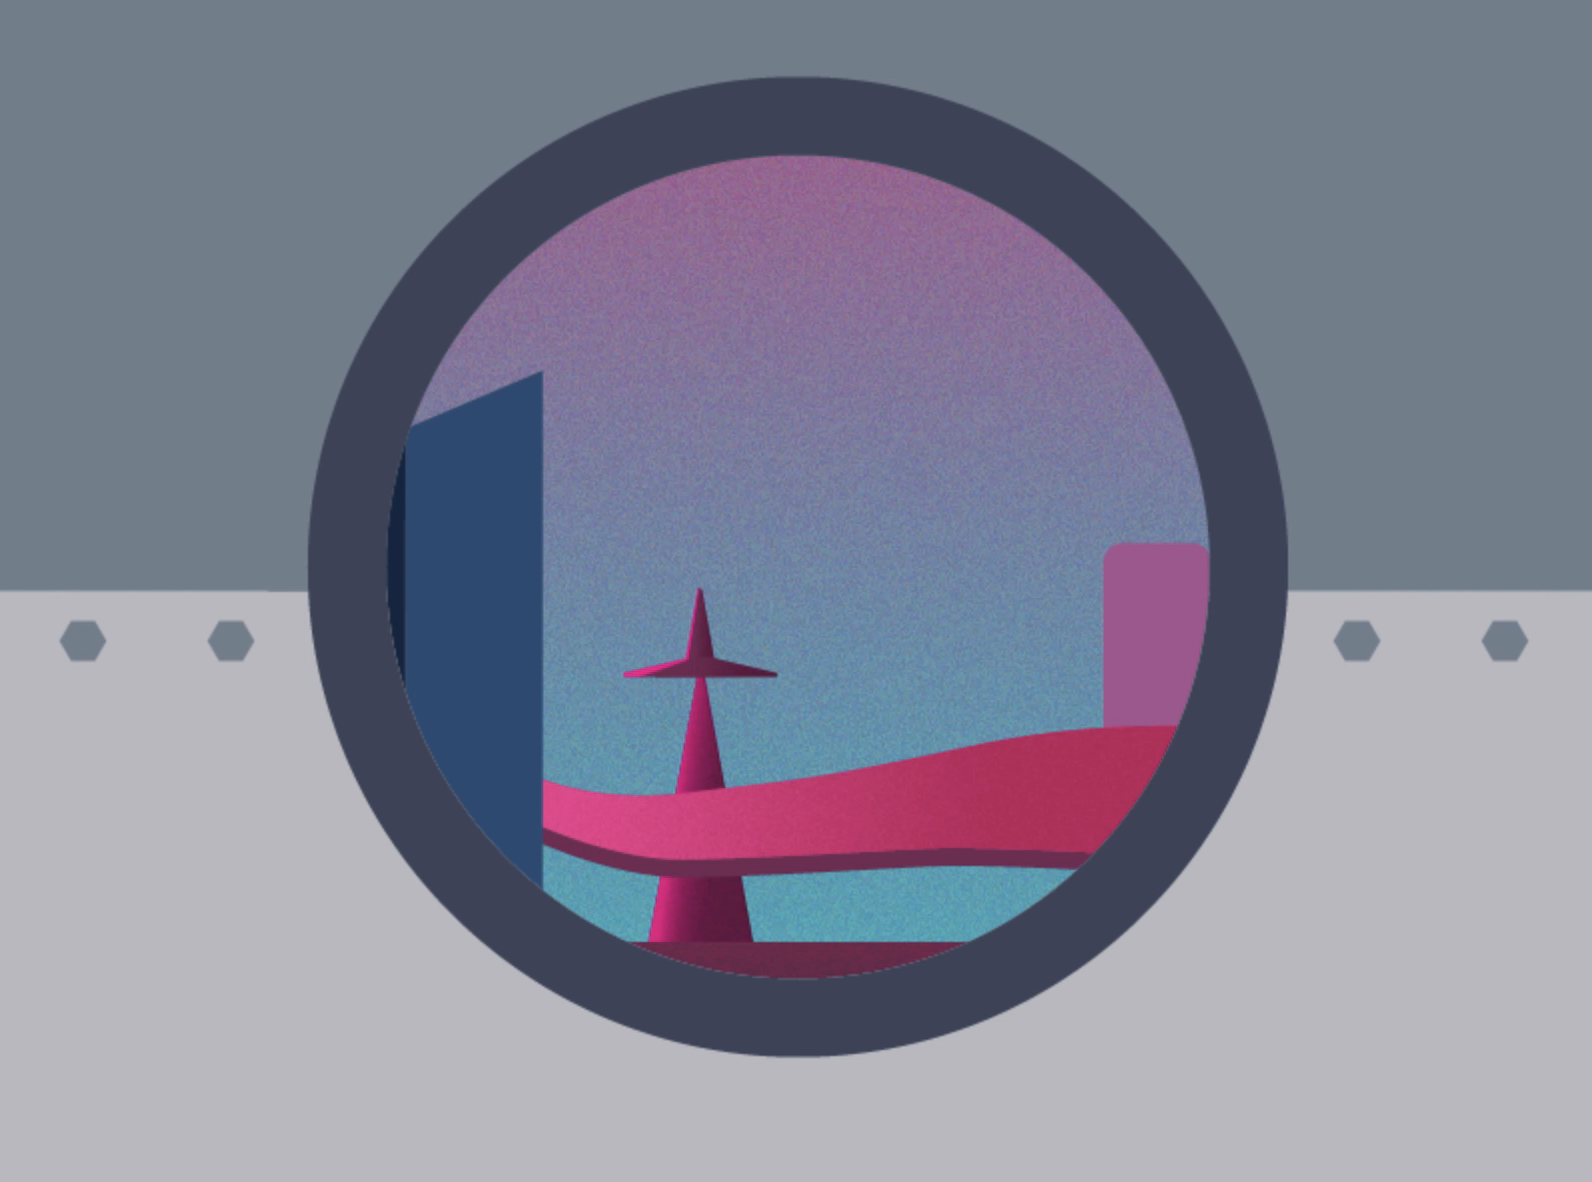
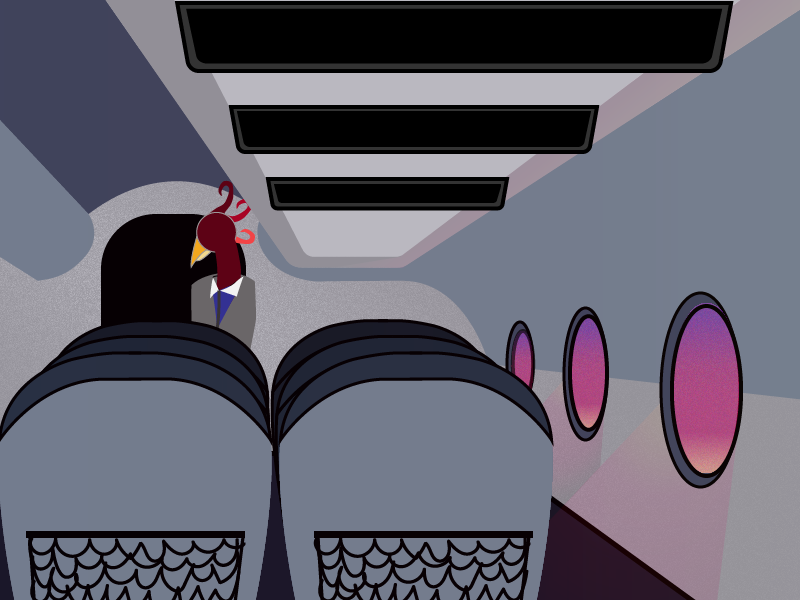
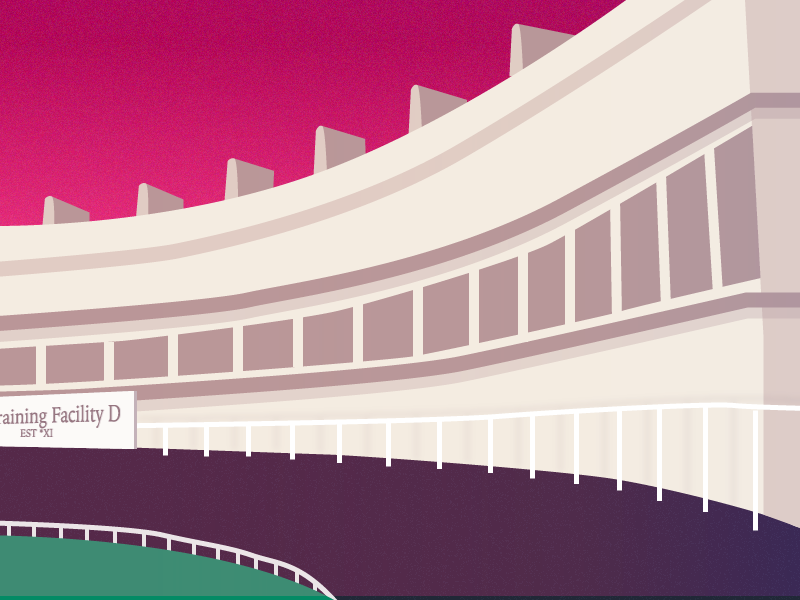
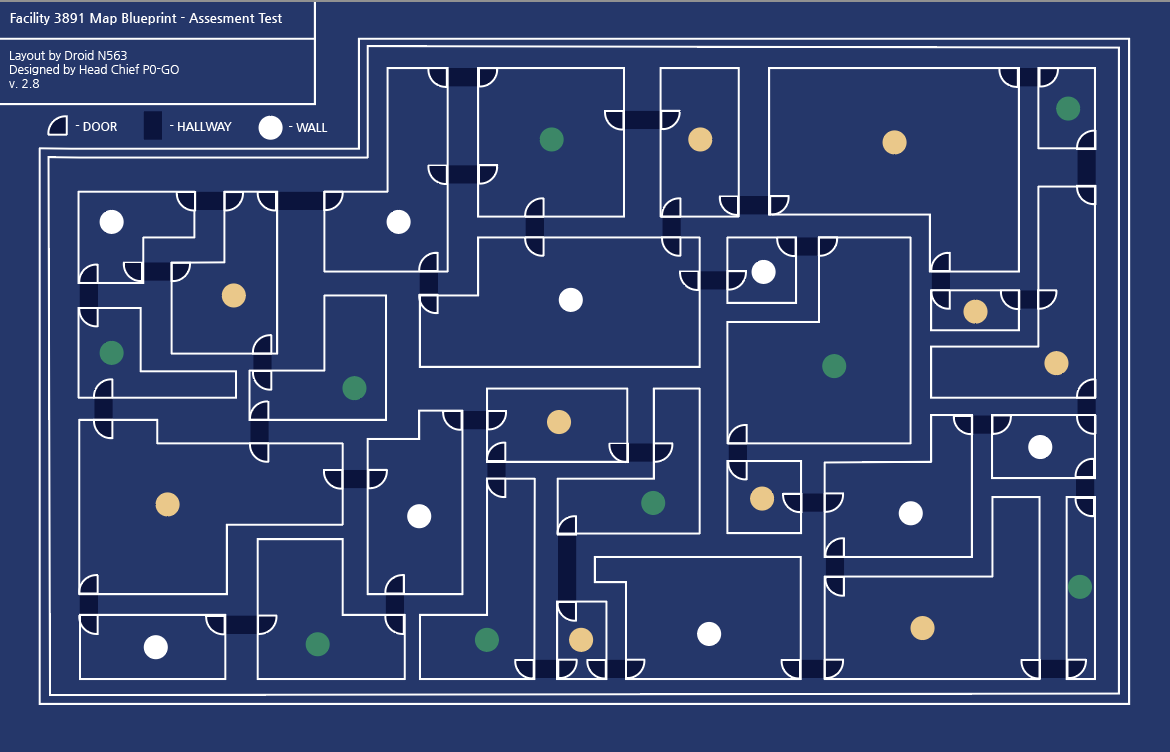
Visual Design
I began by creating a color palette. Then I created the scenes, characters, and elements on illustrator. I broke things down into separate pieces upon exporting so that I could layer them in p5.

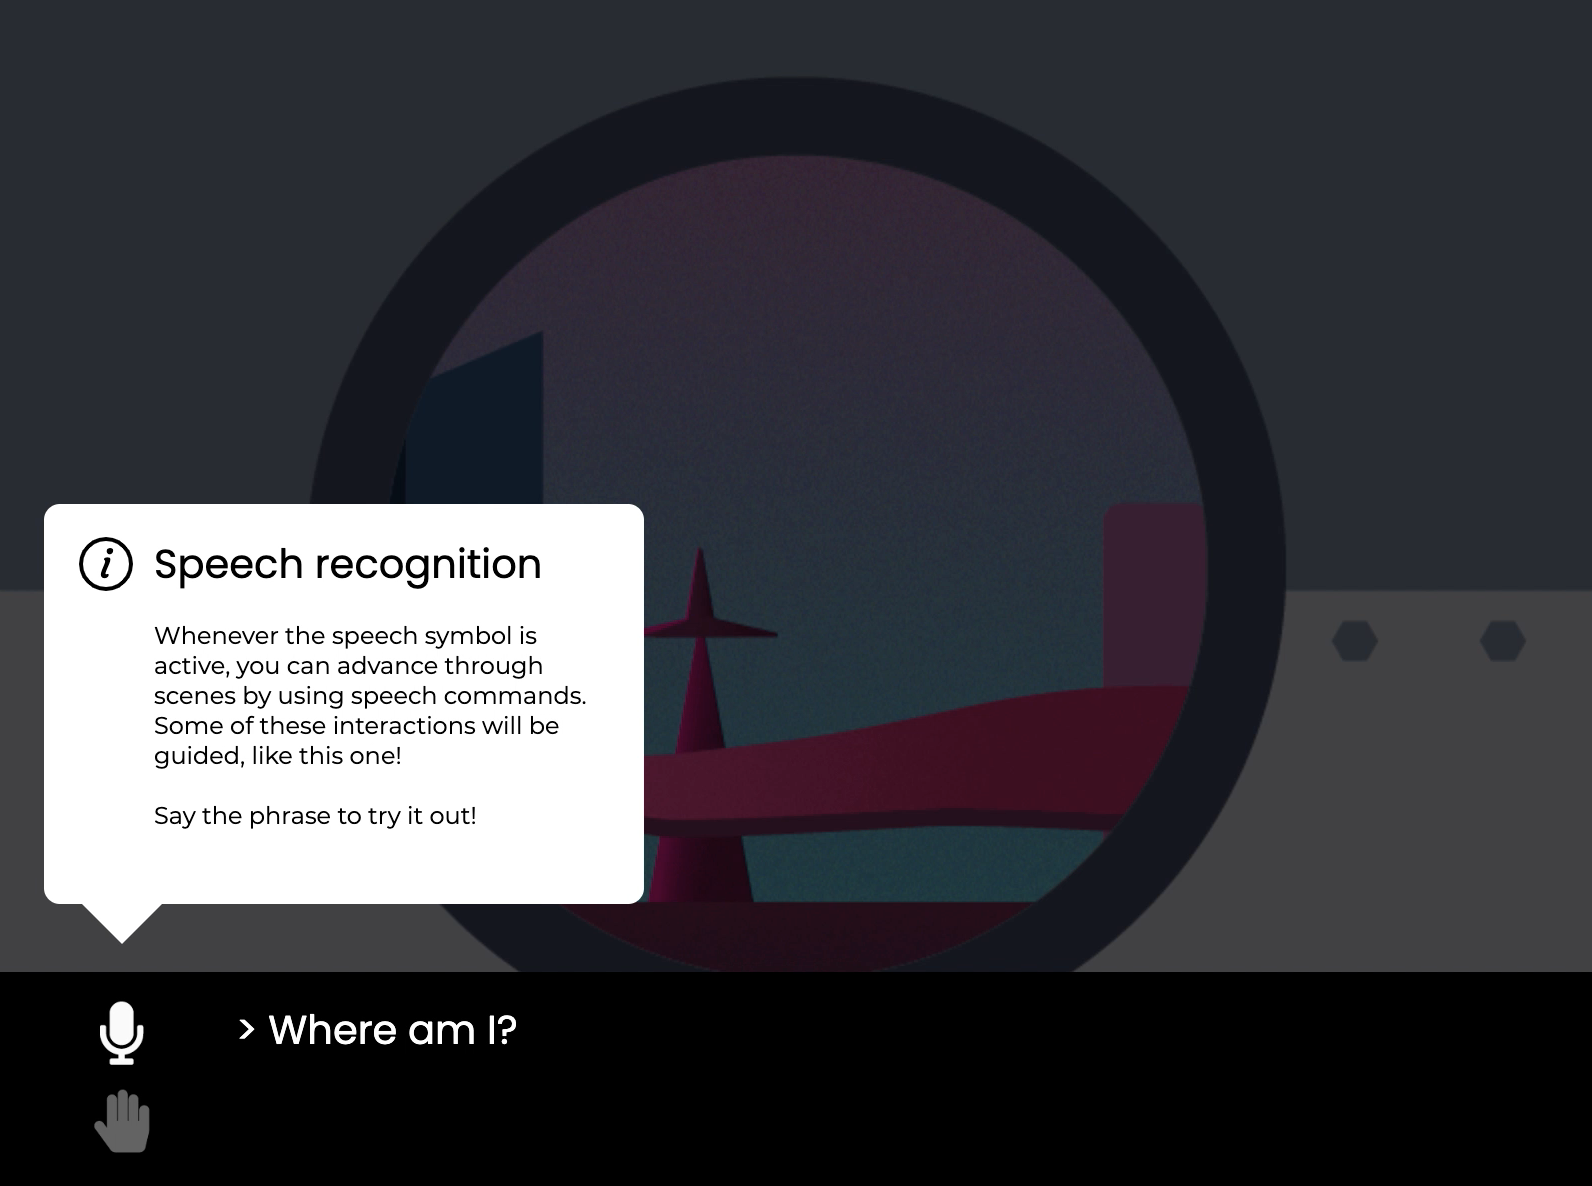
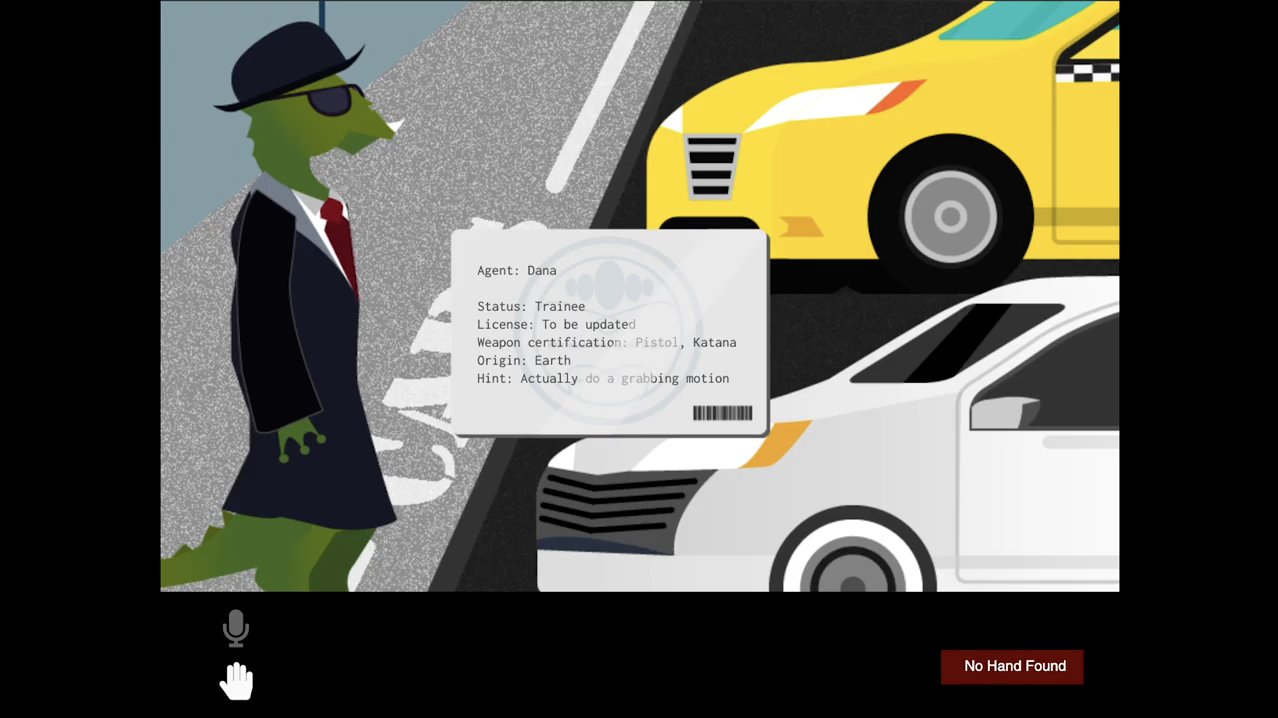
Interaction Design
Keeping usability in mind, I designed an initial tutorial feature that introduces users to elements they might encounter. These elements were added as signifiers, letting the user know the current state. To do this, I created reusable functions for dialogue boxes and active icons to signify speech input or gestrue input. Some tweaks such as changing color and adding error/not found features were also implemented after user testing.
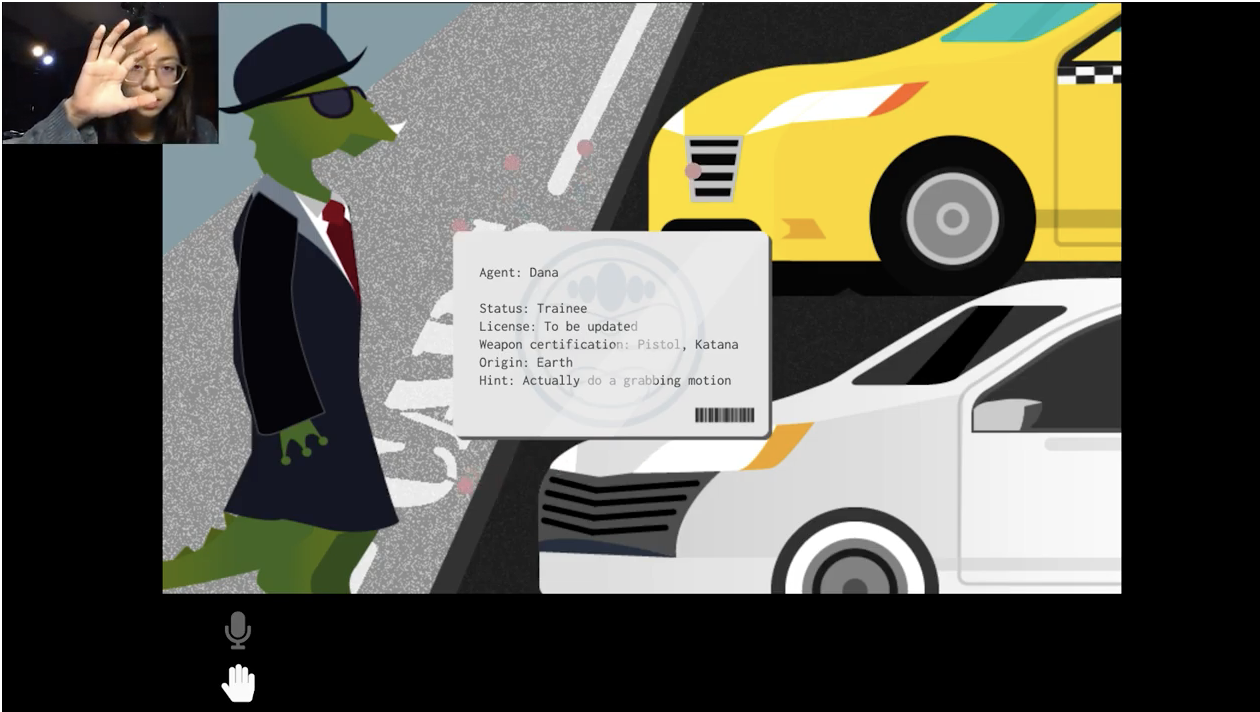
For gestures, I added keypoints to signify where the user's hand was so that they could visually see what the computer is detecting.
Code
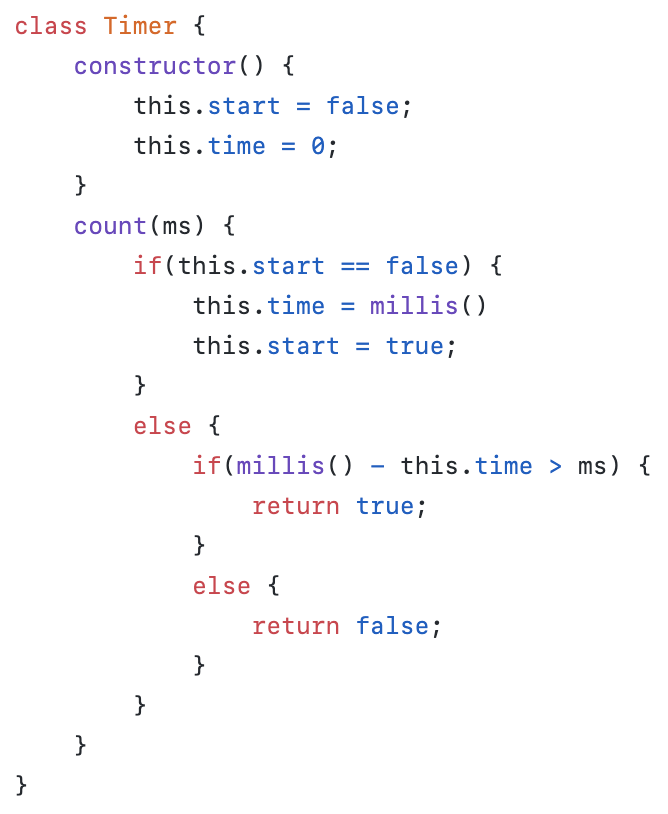
The coding process involved building up a library of objects and functions I could use repeatedly such as dialogue boxes, info boxes, fade transitions, and more. The most useful of them all was the timer function, which allowed me to specify a period of time before proceeding to the next scene or piece of dialogue.
To polish it up, I added an animated loading screen at the beginning and implemented an autosave feature by utilizing local storage.
The github repository can be found here.
Timer code:
Implementation of local storage:
User Testing
I started playtests when I was only around 75% of the way done. My first playtester allowed bugs in the code to reveal themselves as errors popped up in the version hosted through github pages. This was extremely crucial for me as I had only ever ran the program locally on the same machine until then. Issues were mostly related to the libraries such as speech input not being recognized or having the program taking too long to load at the initial use of hand gesture.
After debugging with my first playtester, I was able to then focus more on the interactive elements with my next playtesters. Most comments invovled increasing context in terms of what the user is expected to do. This included adding signifiers that told the user when the program was expecting a gesture or speech. These comments led me to add more details and elements such as speech bubbles, error messages, and sound cues.
Another common bug were words that speech recognition had trouble recognizing. I fixed these by adding catch-alls in my code. Other comments included minor bugs in the program such as words exceeding their bounds and minor logic traps that caused users to be stuck.
Reflections
I definitely had a better process for this than I did when I was creating parallel. Planning and time management were crucial for my process. Breaking tasks down into their smallest parts, setting reasonable goals, and setting extra time for errors (bound to happen) allowed me to wrap this project up in good time.
Additionally, planning reusable elemets allowed me to code objects and classes efficiently. Utilizing isolated versions of the programs or functions used in the game also made it easier to debug before bringing them into the main code. Managing scenes and visual elements in a similar way, by breaking things down, also helped me maintainn momentum by not overwhelming myself with creating all the assets at once.
Upon making this game, I learned the benefits of user testing and interactions. It became crucial for setting up the gameplay and allowed me to organize visual designs and compartmentalize functions for my code.